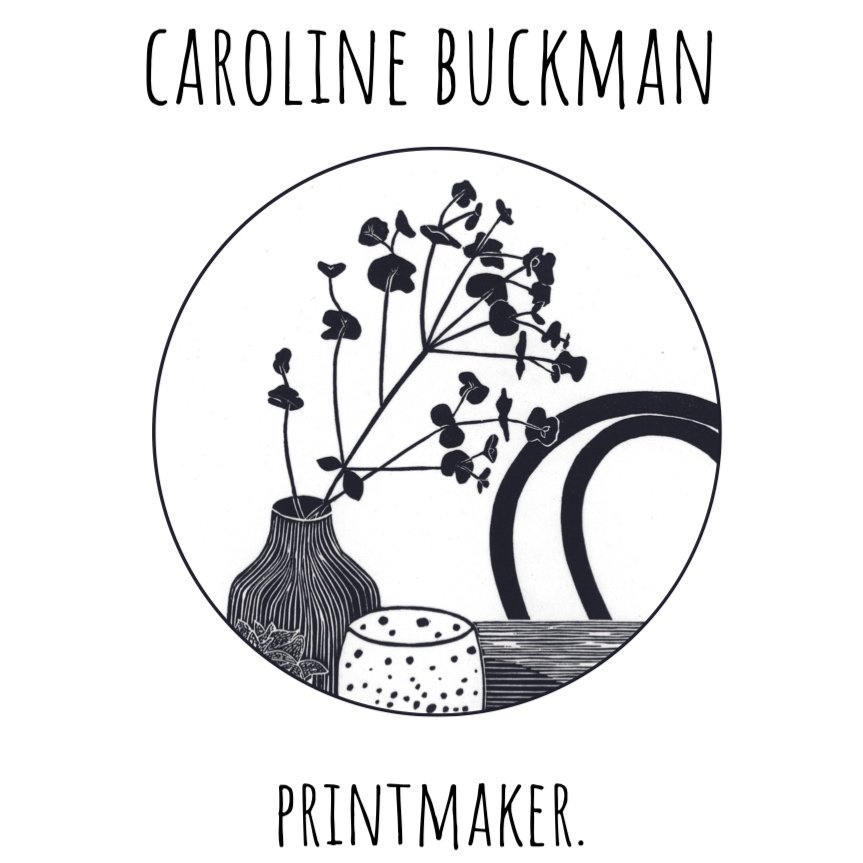
Lino printing is a form of relief printing whereby a piece of lino is carved with special cutting tools. The recesses that have been carved away mean the design is in relief, with the raised (uncarved) areas of the block being rolled with ink and then put through a press to transfer the ink from the block to the paper. In a nutshell, everything that is carved away from the lino block remains the colour of the paper, everything uncut is coloured!
Multiple coloured prints can also be achieved by using multiple blocks of lino to layer up different colours (see my ‘Still Life with Spots’ and ‘Crespedia in Glass Vase’ as examples of this technique). Alternatively a Reduction technique can be used, whereby one layer is carved and printed, with subsequent layers being carved from the same block and printed one by one until there is no lino left (see my ‘Still life: Reflections and Shadows’ print). This is not for the feint hearted! Once a layer is printed, there is no going back to amend the design or layers of colour; the edition must be printed in one go. Whatever the technique, one thing always remains…this is a slow, traditional form of printing that takes time, patience, a fair amount of skill and a whole lot of luck!
The Prints…
-

Inspire
My prints are inspired by the natural world around me. I can often be found wandering along the road with an armful of dried foliage, or snapping away at flowers on my camera, ready to turn into my next print!
-

Draw
I draw everything from life or from photos I’ve taken…I love setting up a collection of still life objects and foliage, moving things around endlessly to get the right composition!
-

Carve
I use traditional hessian backed grey lino to carve into, tracing my work onto the block with tracing paper, then carving with high quality Swiss Pfeil tools. Each print is then proofed until I am happy with the quality of the marks, ink distribution, consistency, and colour.
-

Ink
I use Cranfield Caligo Safe Wash Oil based inks to print with, adding extender to change transparency. I re-ink my prints multiple times to achieve the flat almost ‘screen printed’ look…each print can take up to 15 minutes of pressing and rubbing the ink from the block to the paper!
-

Print
My ‘go to’ papers are Japanese Ho Sho paper and Zerkhall White 145gsm…the perfect thickness for printing in my giant A2 tabletop Woodzilla Press. I print in varying edition sizes, and love nothing more than seeing a full drying rack from a hard day’s printing! All my prints are numbered, titled and signed.
-

Wrap
Every print come backed on recycled grey board and wrapped in a compostable cellophane sleeve for protection. They are then gift wrapped in tissue and twine and posted flat in a hard backed envelope.


